
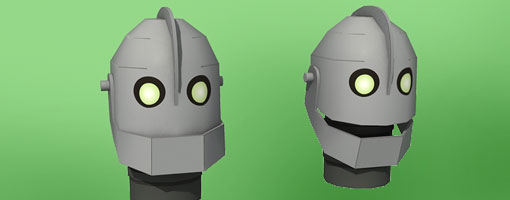
It's been a while since I was doing a big papermodel project for free. I asked Paper Replika's friends on PR Facebook page and I was hooked on Iron Giant idea. So here it is the first part of Iron Giant papermodel. It will be fully articulated and when fully assembled it will have height of 40 cm from head to toe. I will be releasing another part every one or two weeks, depending on the complexity of each parts. In this part you will need 1 sheet of 100 gram minimum card, small amount cardboard (1x1 cm 2 pieces), and a toothpick. There is no special glue at this part, you can use PVA glue or multipurpose glue.
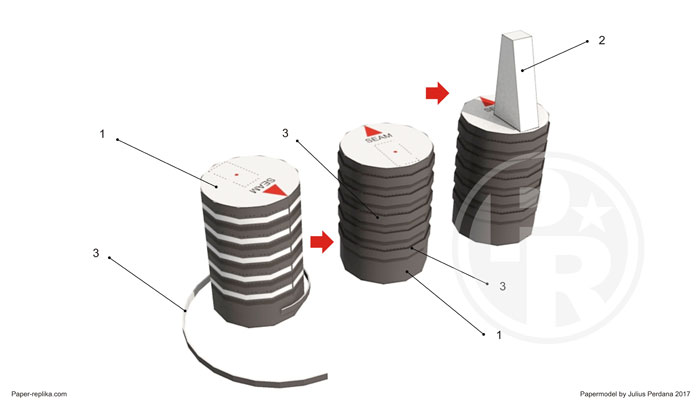
Roll part 1 into a cylinder, make sure the top part is align with the seam. Wrap around part 3 onto the cylinder (part 1). Attach the trapezoid shape (part 2) on top the cylinder
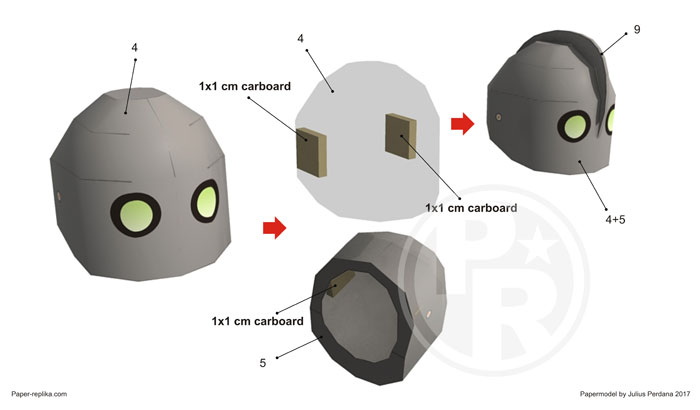
Shape part 4 into Iron Giant's head main part. You can use the provided "inner glue tabs" if you want some seams to be the same layer, otherwise you can still use the default "glue tabs". Insert 2 pieces of cardboard with 1x1 cm size on the back of 2 holes on the side of the head. Puncture that cardboard so the toothpick which will be added later can slide-through into the hole. Attach the "mohawk" (part-9) onto the head, it has no glue tabs but you can add glue on the arc bottom side.
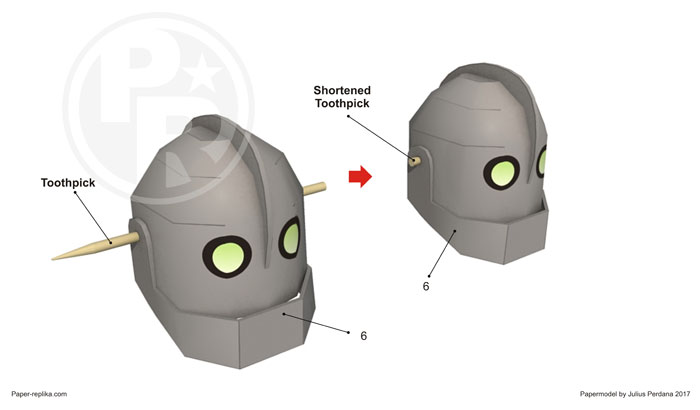
Position the jaw's holes (part-6) into alignment with the head's holes. Puncture a toothpick into the marked holes like shown on the image. Cut the excessive toothpick and leave about 2 mm that came out from the holes on each sides.
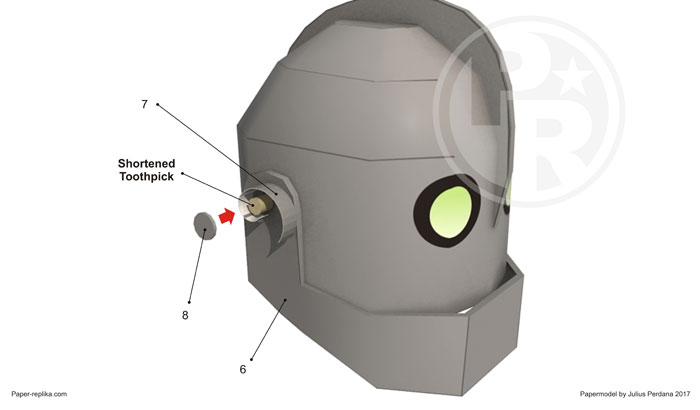
Wrap around with glue the toothpick with part 7 and close it with part 8. Do the same on the other side. Make sure the jaw can be rotate on its axis. Make sure this "hinge system" is not too loose.
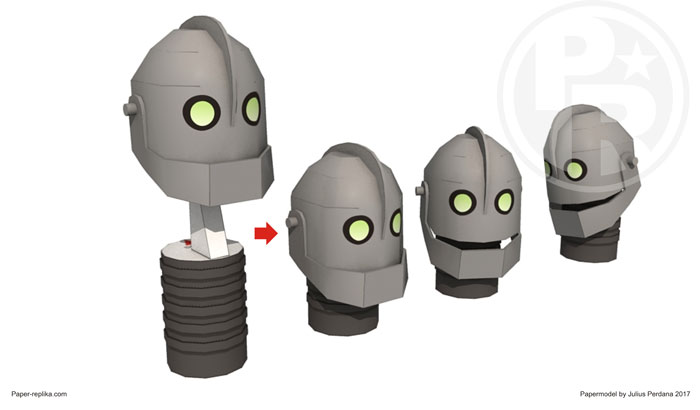
Now you can put the head onto the neck. You can rotate and nod the head, close and open the jaw freely. See you next week (hopefully) with the next part which is body or torso.