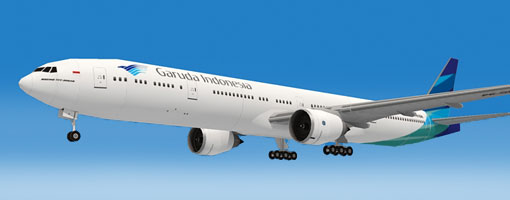
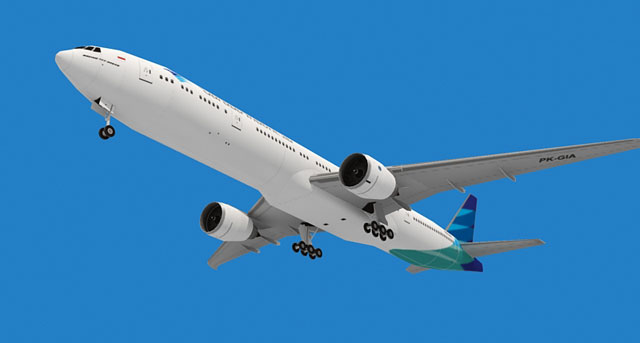
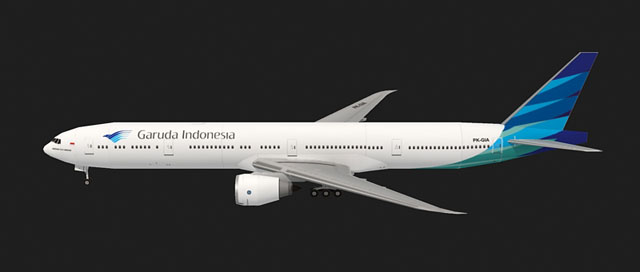
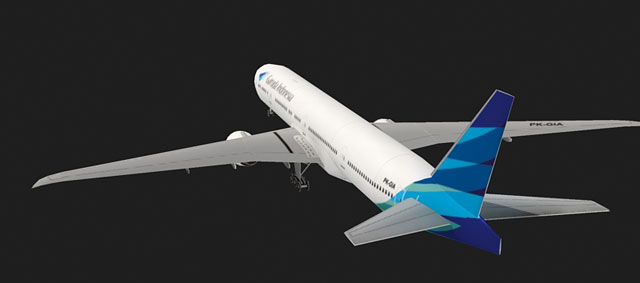
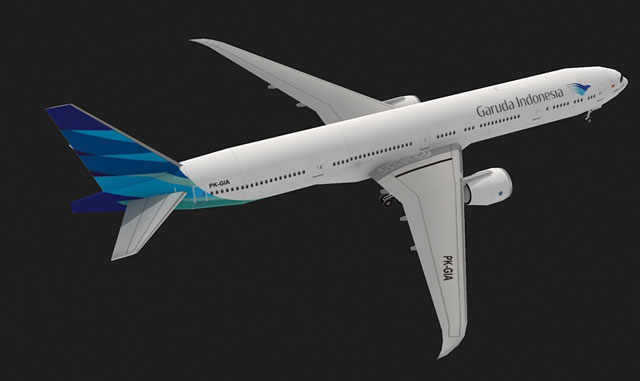
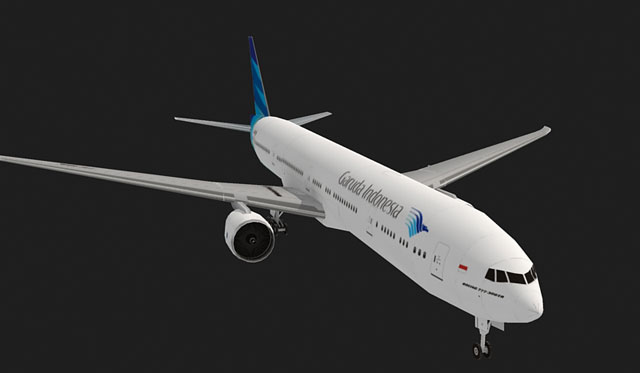
Recently, the most bizarre incident happened in the aviation world . Malaysia Airlines Boeing 777-200 plane disappeared on a flight from Kuala Lumpur to Beijing . It's been almost a month has not been any signs of debris from the flight of MH370 . The Boeing 777 is a great aircraft , some of the visitors of Paper replika request for a model replica . Ok, I think I will make but with different color first , as a base . Somewhat different from the MH370 flight using a Boeing 777-200 , PK - GIA from Garuda Boeing is using 777 - 300ER. Newer type and longer .
As in the previous airliners models models , this model using the technique with inner glue tabs , but with a little adjustment for easier on assembling . The improvements are removal of the inner glue tabs on the bottom of each part , replaced by moving the flap directly on parts. Inner glue tab is only used to connect between the parts to other parts . Wing attachment has also been strengthened by the use of reinforcing ribs so hopefully the main wing will no longer bent downward. The template consist of 8 pages of patterns.
ASSEMBLY INSTRUCTIONS :
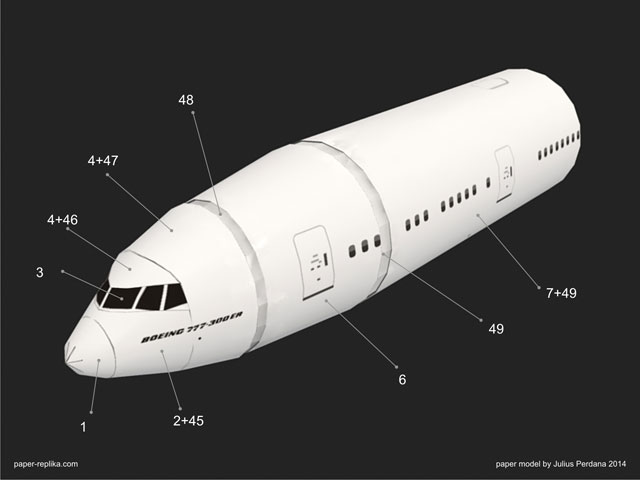
Assembly nose and front fuselage section by using inner glue tabs (45,46,47,48,49) inside the parts. You can use 100-120 gsm paper for all parts except for ribs and formers.
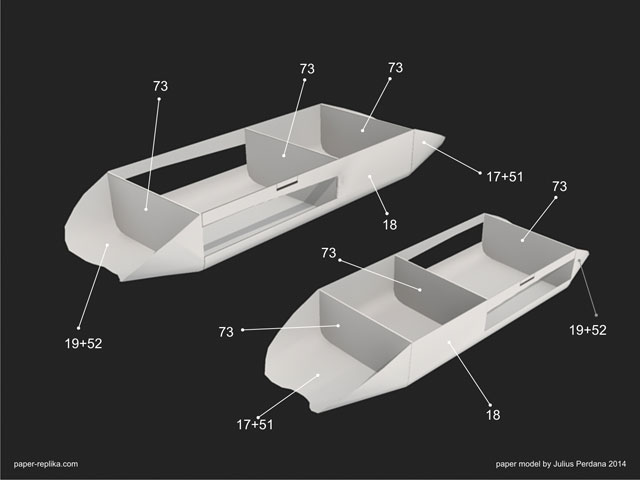
Assembly wing base, using formers (3 x 73) to form the shape. Use cardboard 0,5 - 1 mm thick cardboard for the formers.
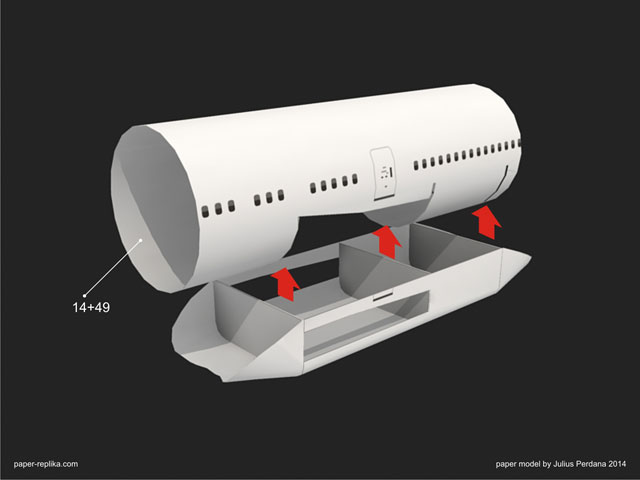
Combine center fuselage section with wing base ans glue them secured. Make sure they are centered.
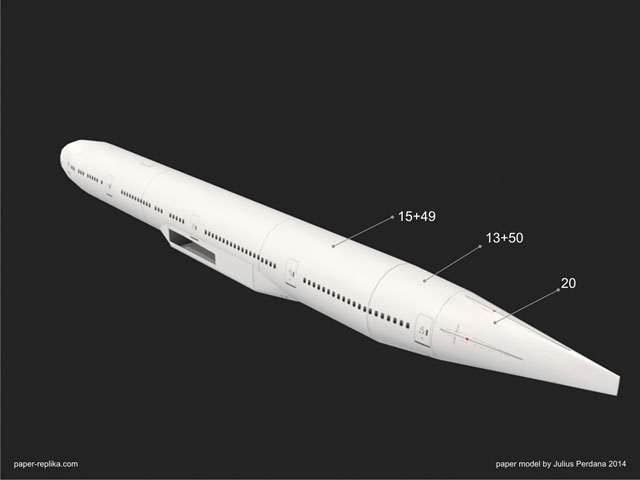
Assembly the rest of the fuselage, the rear section (15,13,20) glue them together by using inner glue tabs (49,50)
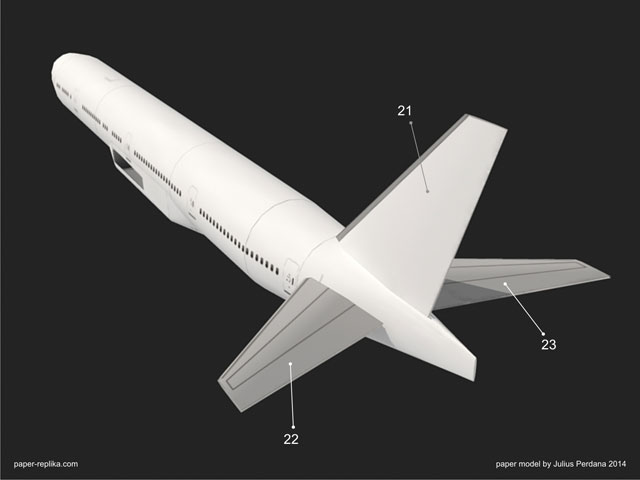
Attach vertical and horizontal stabilizers. Make sure the vertical fin is straight and centered. Glue the horizontal stabilizers a bit angled up.
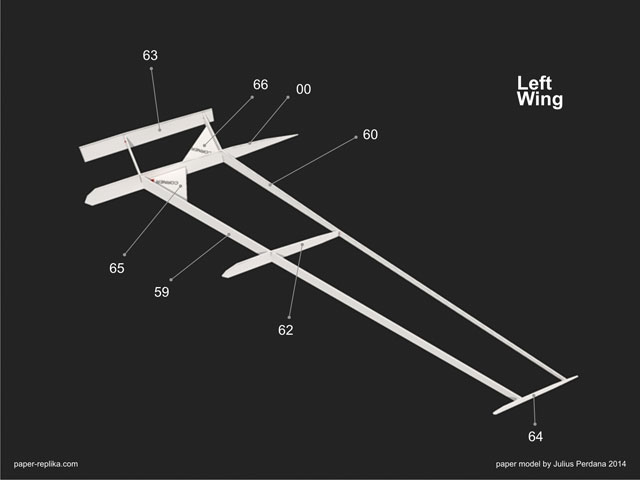
Assembly the left wing ribs like the image above. Use part 66 and 65 to fix the angle.
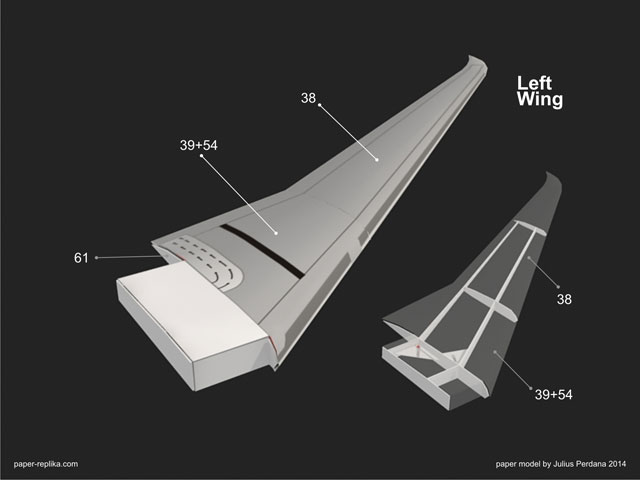
Wrap around the left wing ribs with wing skins part (39 an 38). Use inner glue tab no. 54 for glueing both wing skin together.
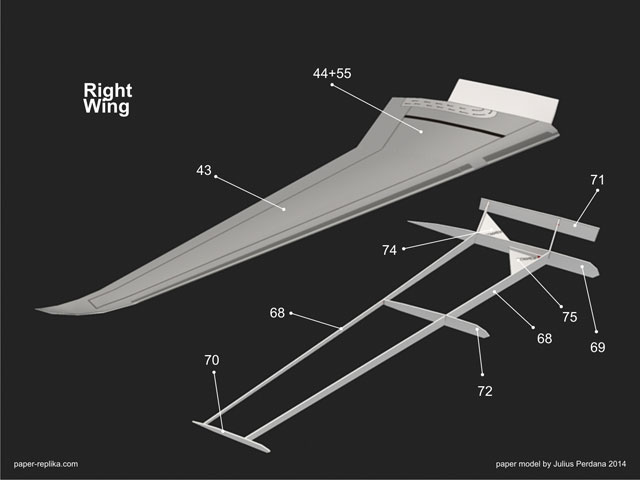
Do the same for the right wing as already done with the left one.
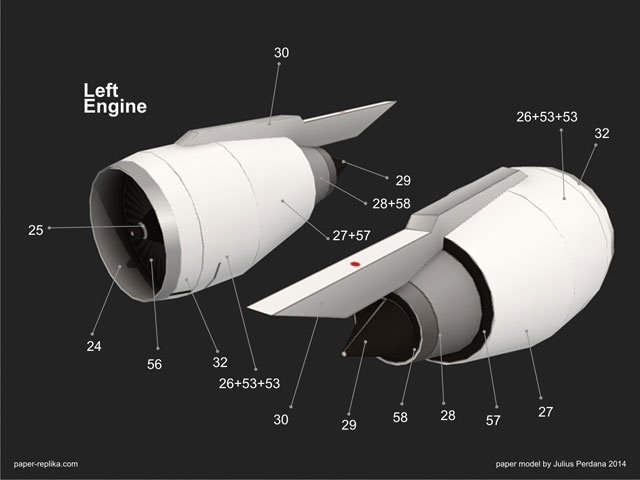
Assembly the left engine part like the image above. Wrap around part 56 using part 24 with printed side on the inside. Assembly the engine shape using inner glue tabs part 53. Wrap around part 57 with part 27. Wrap around part 58 with part 28. Pay attention to the engine pylon, they are different for left and right engine.
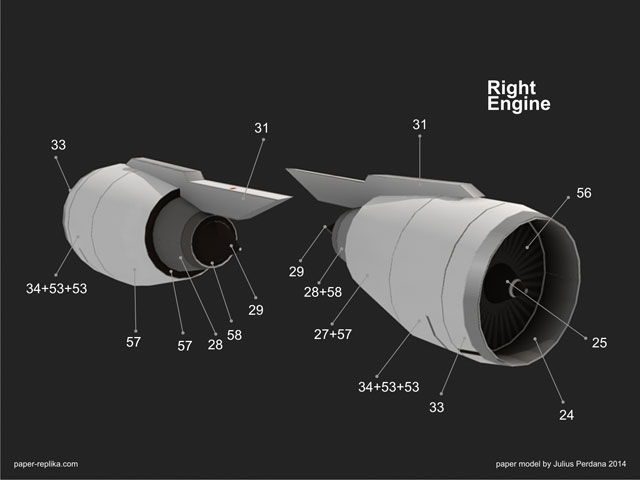
Do the same to the right engine as the left one.
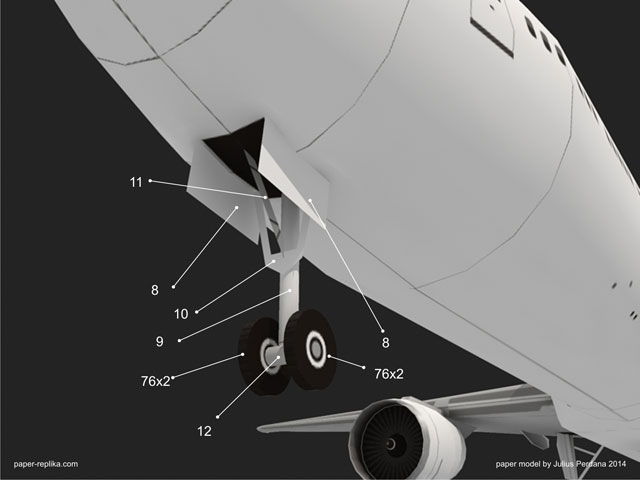
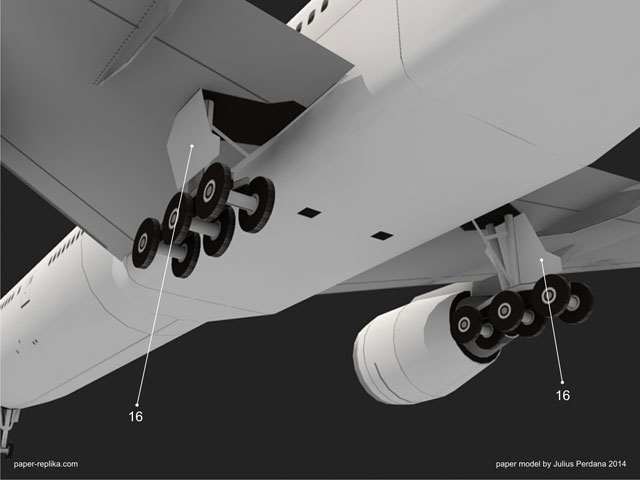
Roll part 9 and 12 from left to right on the patterns. Use 2 part of part 76 for the front tyre.
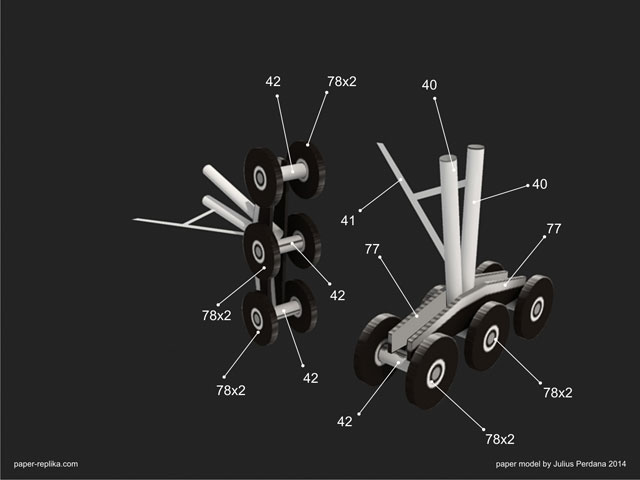
Roll part 42 and 40 from left to right on the patterns.