
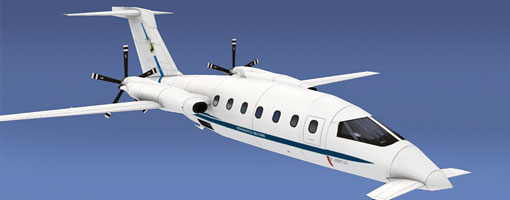
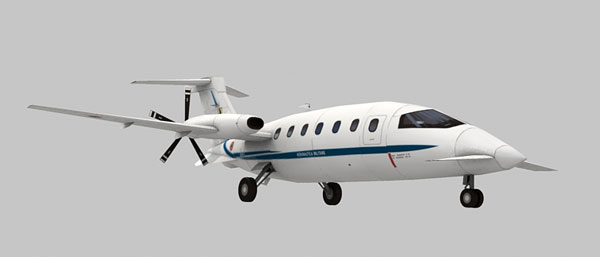
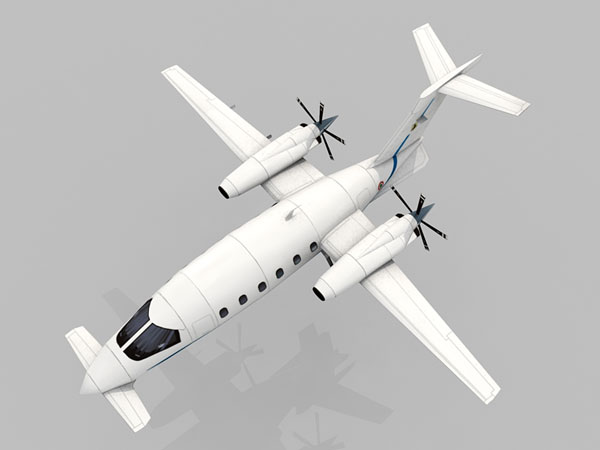
Sounds like a scooter manufacturer, but it is an high tech aircraft from Piaggio Aero. This is a scale model 1:72 of P180 M which is a military version of Piaggio P180 Avanti civilian executive transport. P180 M primarly use by Aeronautica Militare (Italian Air Force), they equipped with military standard such as FLIR, SAR radar dan surveillance systems. This release use inner glue tabs and formers.
The Avanti's turboprop engines are placed on a mid-fuselage, high aspect ratio wing, located behind the cabin. The design utilizes both a T-tail and a pair of small, fixed anhedral forward wings that lack control surfaces. The arrangement of the wing surfaces allows all three to provide lift, as opposed to a conventional configuration, where the horizontal stabilizer creates a downward force to counteract the nose-down moment generated by the center of gravity being forward of the center of lift.
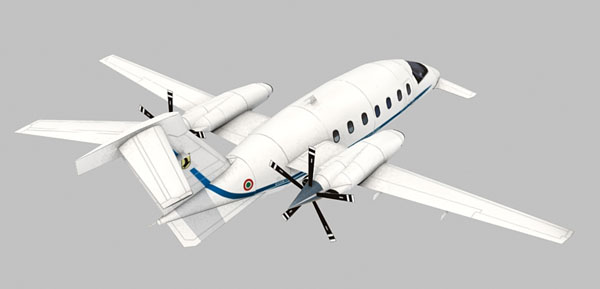
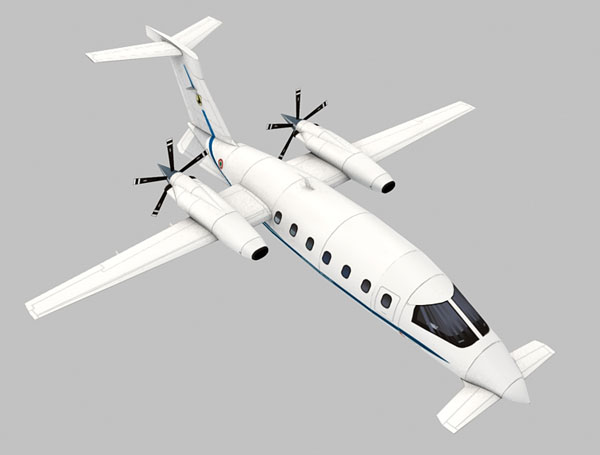
Distinctive design features include a non-constant cross section cabin, the revolutionary shape of which approximates a NACA airfoil section. Piaggio claims the fuselage contributes up to 20% of the Avanti's total lift, with horizontal stabilizer, front and rear wing providing the remaining 80%. Because of the unusual fuselage shape, the mid cabin is considerably wider than the cockpit, and the entire cabin is ahead of the main wing spar. The front and rear airfoils are custom sections designed by Dr. Jerry Gregorek of The Ohio State University's AARL to achieve a drag-reducing 50% laminar flow at cruise.
The company claims the overall design of the P180 Avanti II enables the wing to be 34% smaller than on conventional aircraft and a specific range of 0.84 nmi/lb of fuel. This is significantly better than the 0.31-0.48 nmi/pound of similar small jets. The P180 makes a distinctive square wave noise when passing overhead, similar to the Beech Starship, due to the wing wake and engine exhaust effects on the pusher propellers. [Wikipedia]
- Insert the formers first before assembly the whole fuselage
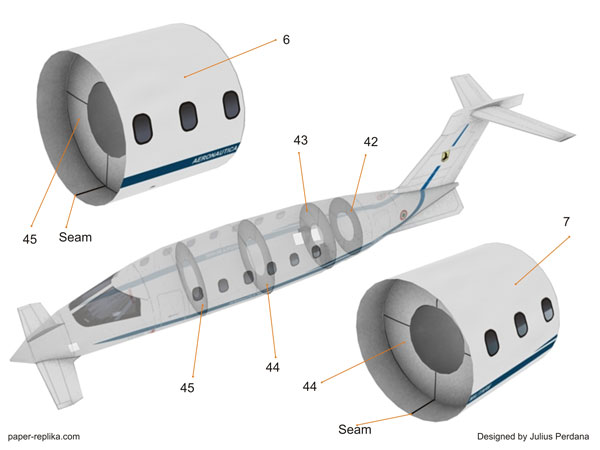
- Align the formers with the part seams, just like picture above
- Roll cylindrical parts by using pencil roll method like on the last page youtube video tutorial
- The same like previous picture, attach the former first
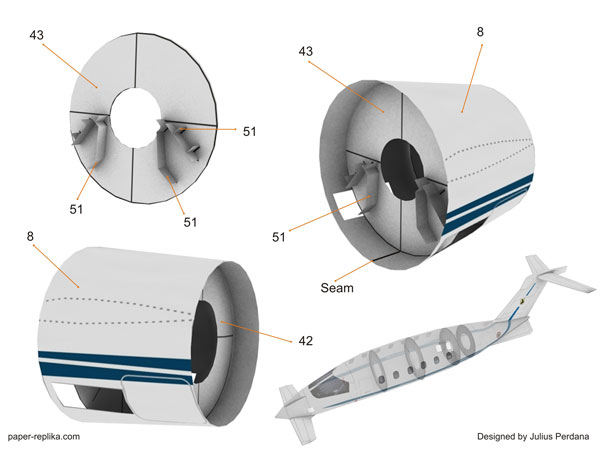
- Part 8 has two formers (43 & 42)
- Attach the landing gear housing (part 51), make sure the glue is harden enough before attach to part 8
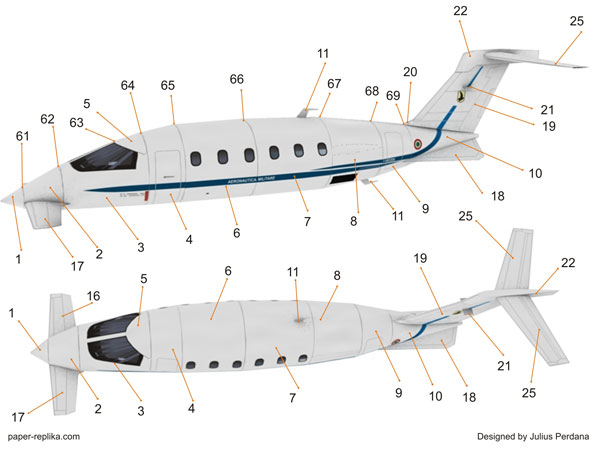
- This model using inner glue tabs, (61,62,63,64,65,66,67,68,69) remember to align the parts seam to seam at the bottom
- Fold part 17 and 16 and make them curve on the up side (aerofoil shape), then glue to the nose.
- Fold part 25 and make them curve on the up side (aerofoil shape)
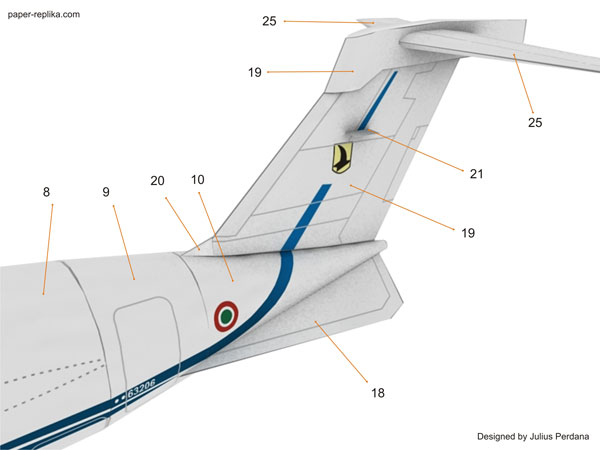
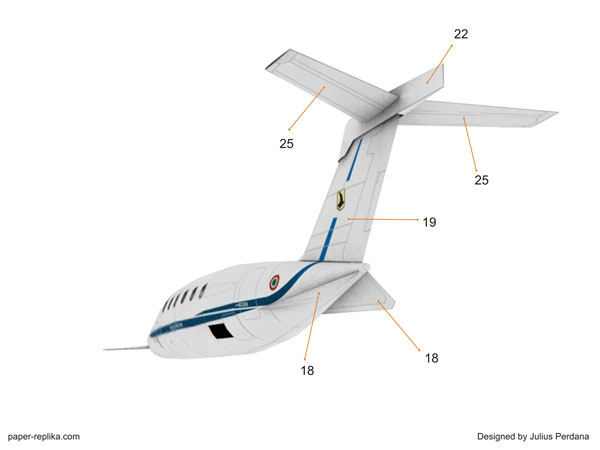
- Part 18, the rear bottom fin, glue to the tail with 45 degree angle
- Use part 52 for former grips, glue it into small formers to ease gripping and assembling.
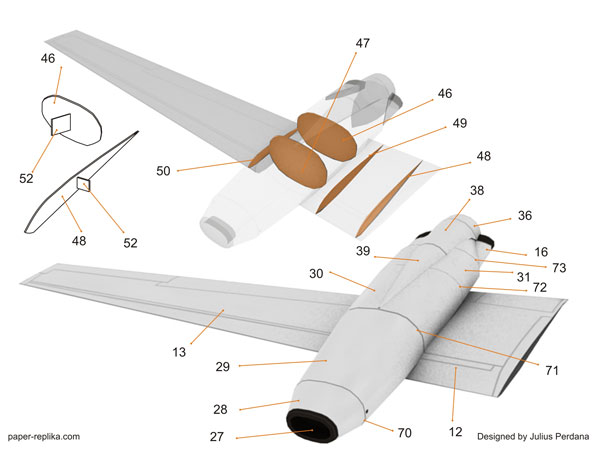
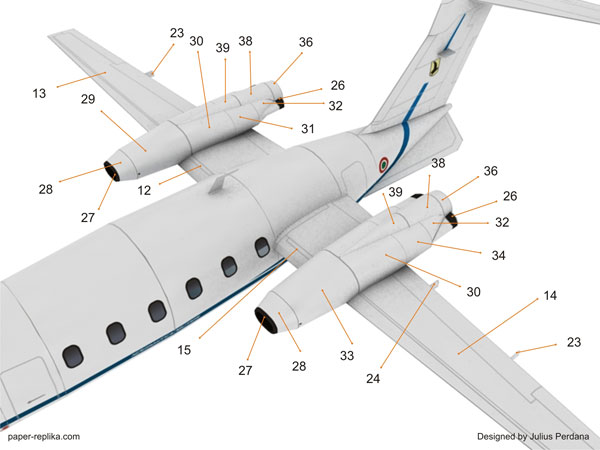
- Attach formers first on part 30 before assembly the engines
- Part 27 use valley fold
- Make additional glue tabs to glue the engine to the wing.
- Follow the glue mark to glue wings and engine, the marks pointed on the front and the rear tip of the wing
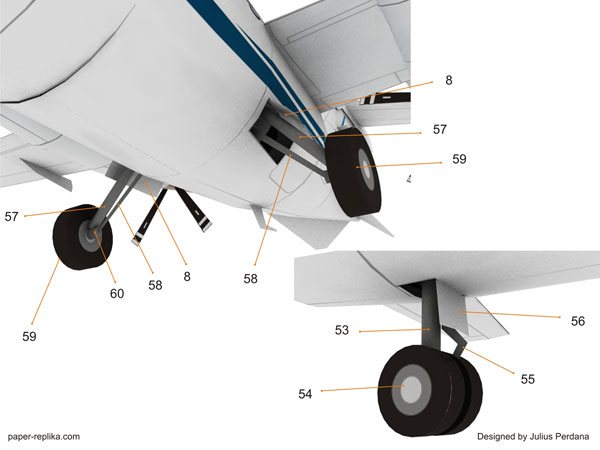
- Roll tight oart 53 and 57s
- Assembly all landing gears first before glue them into the plane