
Tutorial
- Details
- Written by: Julius Perdana
- Category: Tutorial
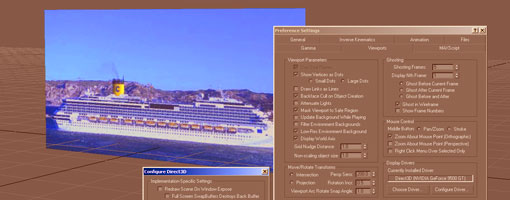
In this short tutorial I will share to you how to improve the low-res view of material in Gmax viewport. This tutorial maybe be short but quite important, because we couldn't model clearly by using blurry blueprint. First I set up an image in a plane just like in previous tutorial, this time I add a cruise ship side view photo as a blueprint. The material looks terrible, then go to top menu : Customize - Preferences - choose Viewport tab, then find Configure Driver on Display Driver section and then a new window will come up. The window is titled Configure Direct3D.
Read more: How to improve material image quality in Gmax Viewport
- Details
- Written by: Julius Perdana
- Category: Tutorial
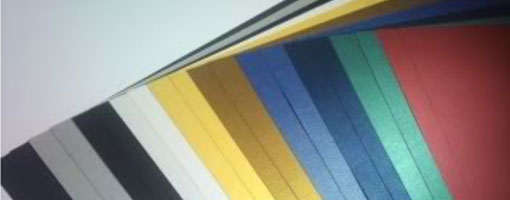
Because of so many questions from beginners about paper type to use for paper modeling so I try to explain it in this article. The fact is, there is no such special paper for paper model. You can use any kind of paper that available on you, however every paper type has its own plus and minus. When you are going to make a paper model you should know the size of the built model, large size will need more thicker paper than the smaller one. Also there are some paper that can be printed with home printer (inkjet printer) but some don't, it must be printed with laser, offset printer or digital printing.
- Details
- Written by: Julius Perdana
- Category: Tutorial
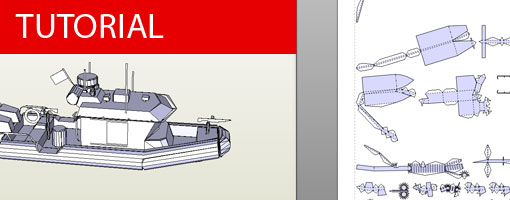
For a quite a long time since the last time I update this tutorial section. So here it is the next step which is unfolding step in Pepakura 3D Designer (Pep). Remember in the previous tutorials that Pep can’t edit the 3d file, it only help us to convert 3D planes into 2D planes and has the ability to edit and adjust the layout and flaps position. I’m going to use the same model as the last tutorial.
- Details
- Written by: Julius Perdana
- Category: Tutorial
This is the first time I made a customized paper model, I mean almost because the only part that can be customized is just the face on your Iron Man 2 War Machine paper model that already released earlier. We're going to learn how to do that. It will be done by using Pepakura viewer and bitmap editing software such as Photoshop or others. I'm not going to share how to use Photoshop here, I'm going to focusing only on Pepakura. Download the file in the end of this article, we have 2 files, a pdo and a bitmap file in JPG. To change the face is easy, just simply replacing the face on face.jpg with your own. Then reload the texture on Pepakura and print it.
Read more: How to Replace Face Texture on Your War Machine Paper Model
