
This is the first time I made a customized paper model, I mean almost because the only part that can be customized is just the face on your Iron Man 2 War Machine paper model that already released earlier. We're going to learn how to do that. It will be done by using Pepakura viewer and bitmap editing software such as Photoshop or others. I'm not going to share how to use Photoshop here, I'm going to focusing only on Pepakura. Download the file in the end of this article, we have 2 files, a pdo and a bitmap file in JPG. To change the face is easy, just simply replacing the face on face.jpg with your own. Then reload the texture on Pepakura and print it.
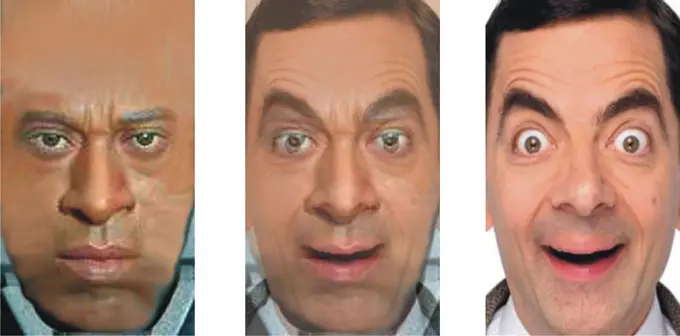
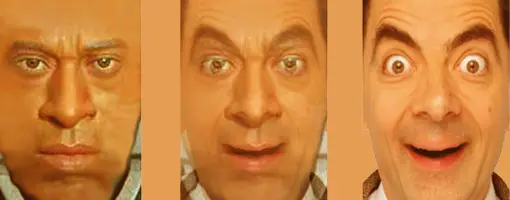
First you have to set up your face image. By using bitmap editing software such as Photoshop or Gimp align your face with the existing Rhodey's face (face.jpg) so all the key positions are aligned, such as eyes, nose and mouth. Look at the example image above, I aligned Mr. Bean face (Rowan Atkinson) to replace Rhodey's. This method has weakness to you who have rounded face, you may have to stretch your face. Then save it with different name, example : face-bean.jpg
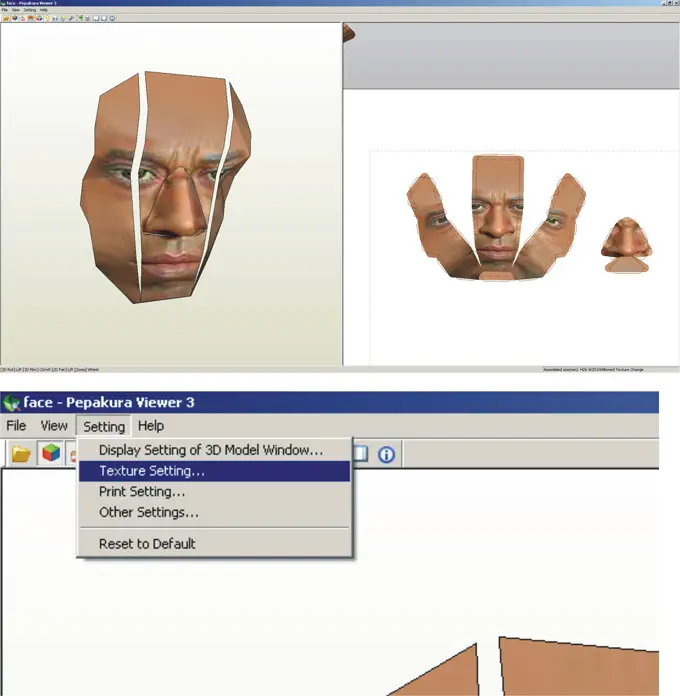
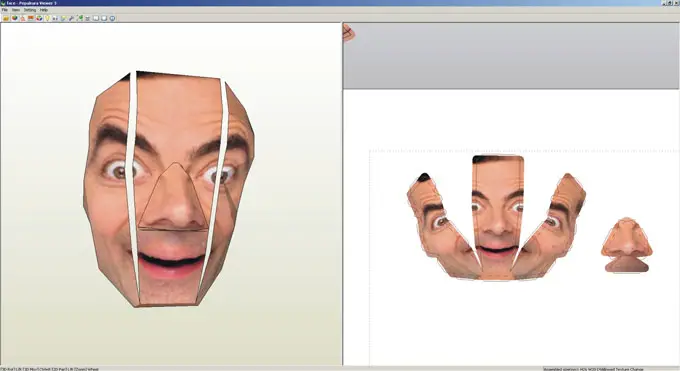
Open face.pdo in Pepakura Viewer (download here). In Setting choose Texture Setting
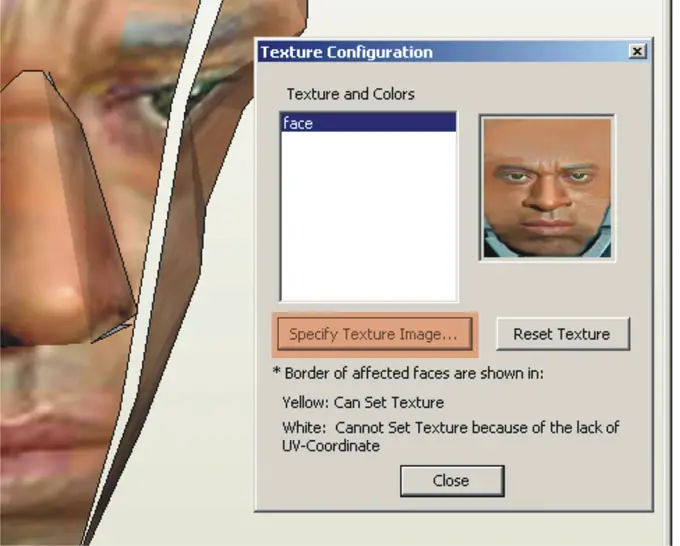
Open face.pdo in Pepakura Viewer (download here). In Setting choose Texture Setting and it will open a new dialog window. Click Specify Texture Image... button. Then choose your newly created face (face-bean.jpg) and it will brings up a warning saying "The image is too large blah blah blah" just click OK and you'll be fine. After that close the Texture Configuration window, the face templates will looks like image below.
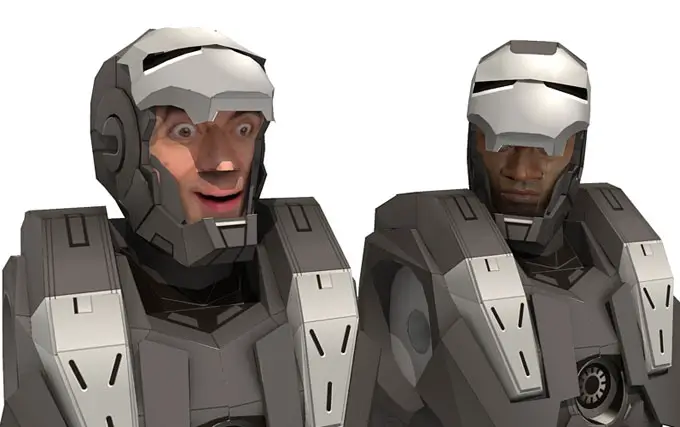
Print it and replace Rhodey face part, have fun with it :)
How to Replace Face Texture on Your War Machine Paper Model files - download
Iron Man War Machine Paper Model page